This is a write-up for my Banana Pi Bpi-R3 router setup.
I got this router more than a year ago but never took the time to set it up properly. It has nice features, particularly the two 2.5Gbit ports that connect my NAS to my local server for fast transfer.
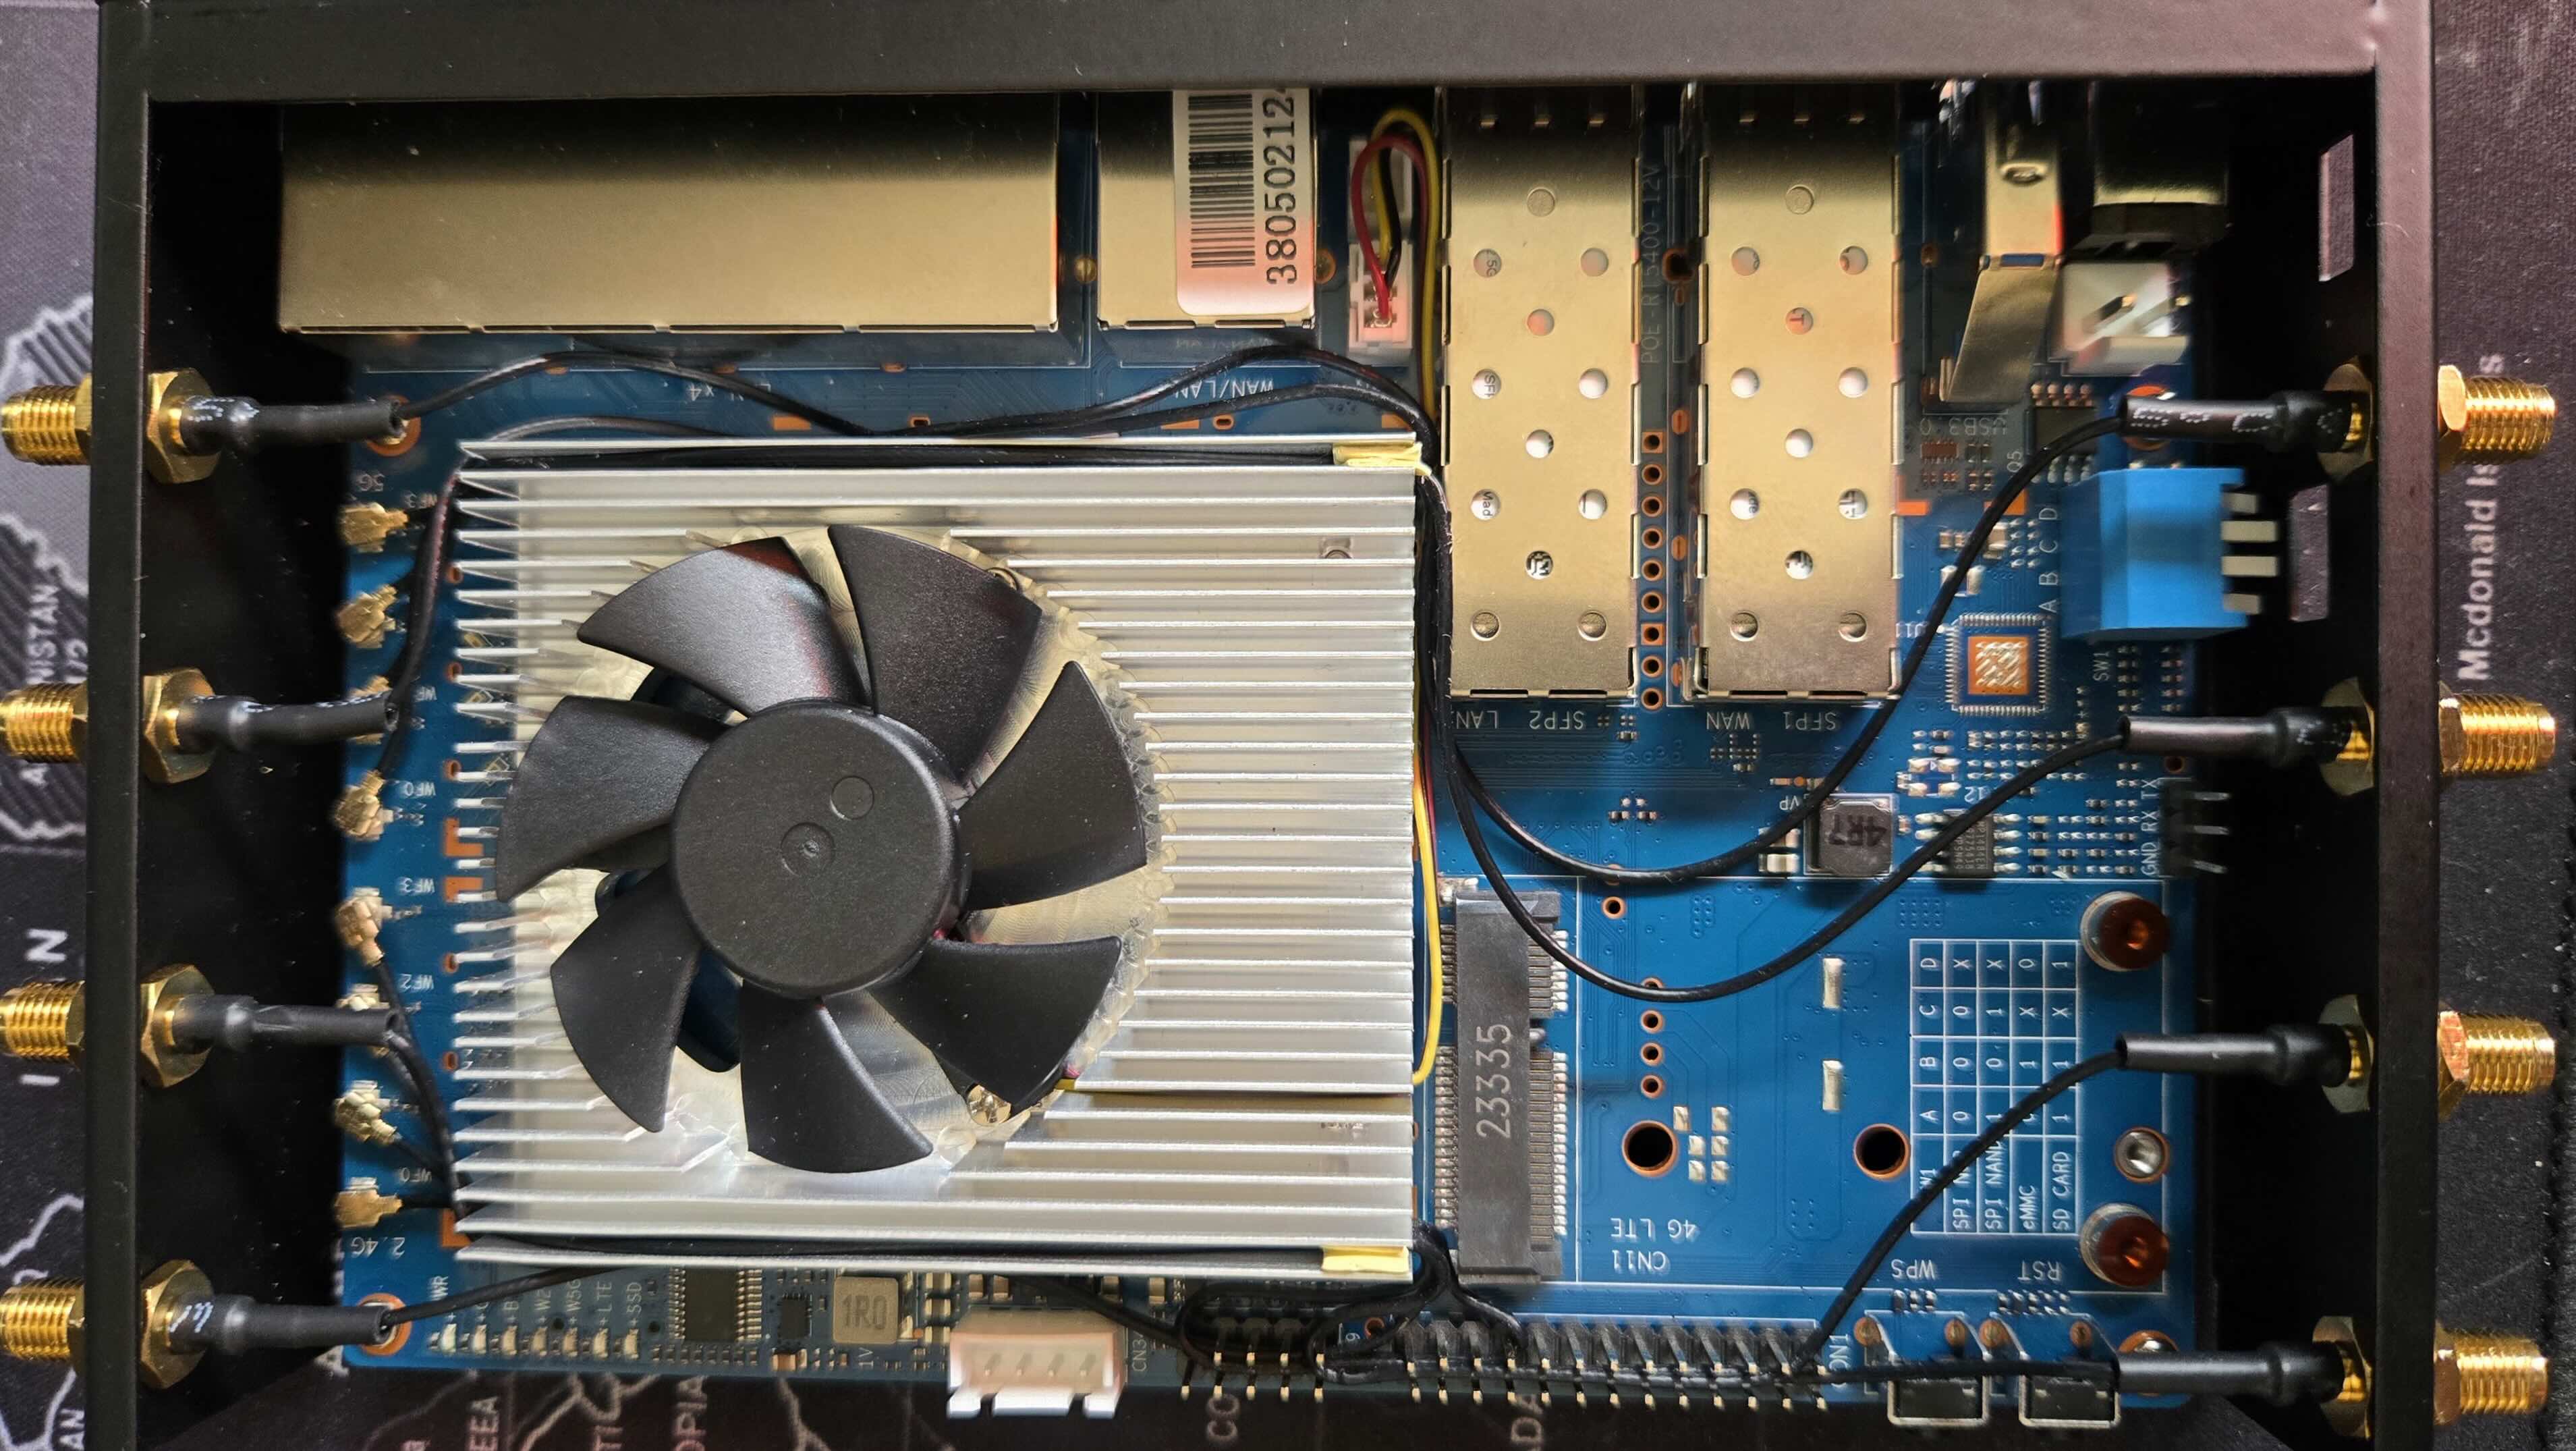
(a)My antenna wiring
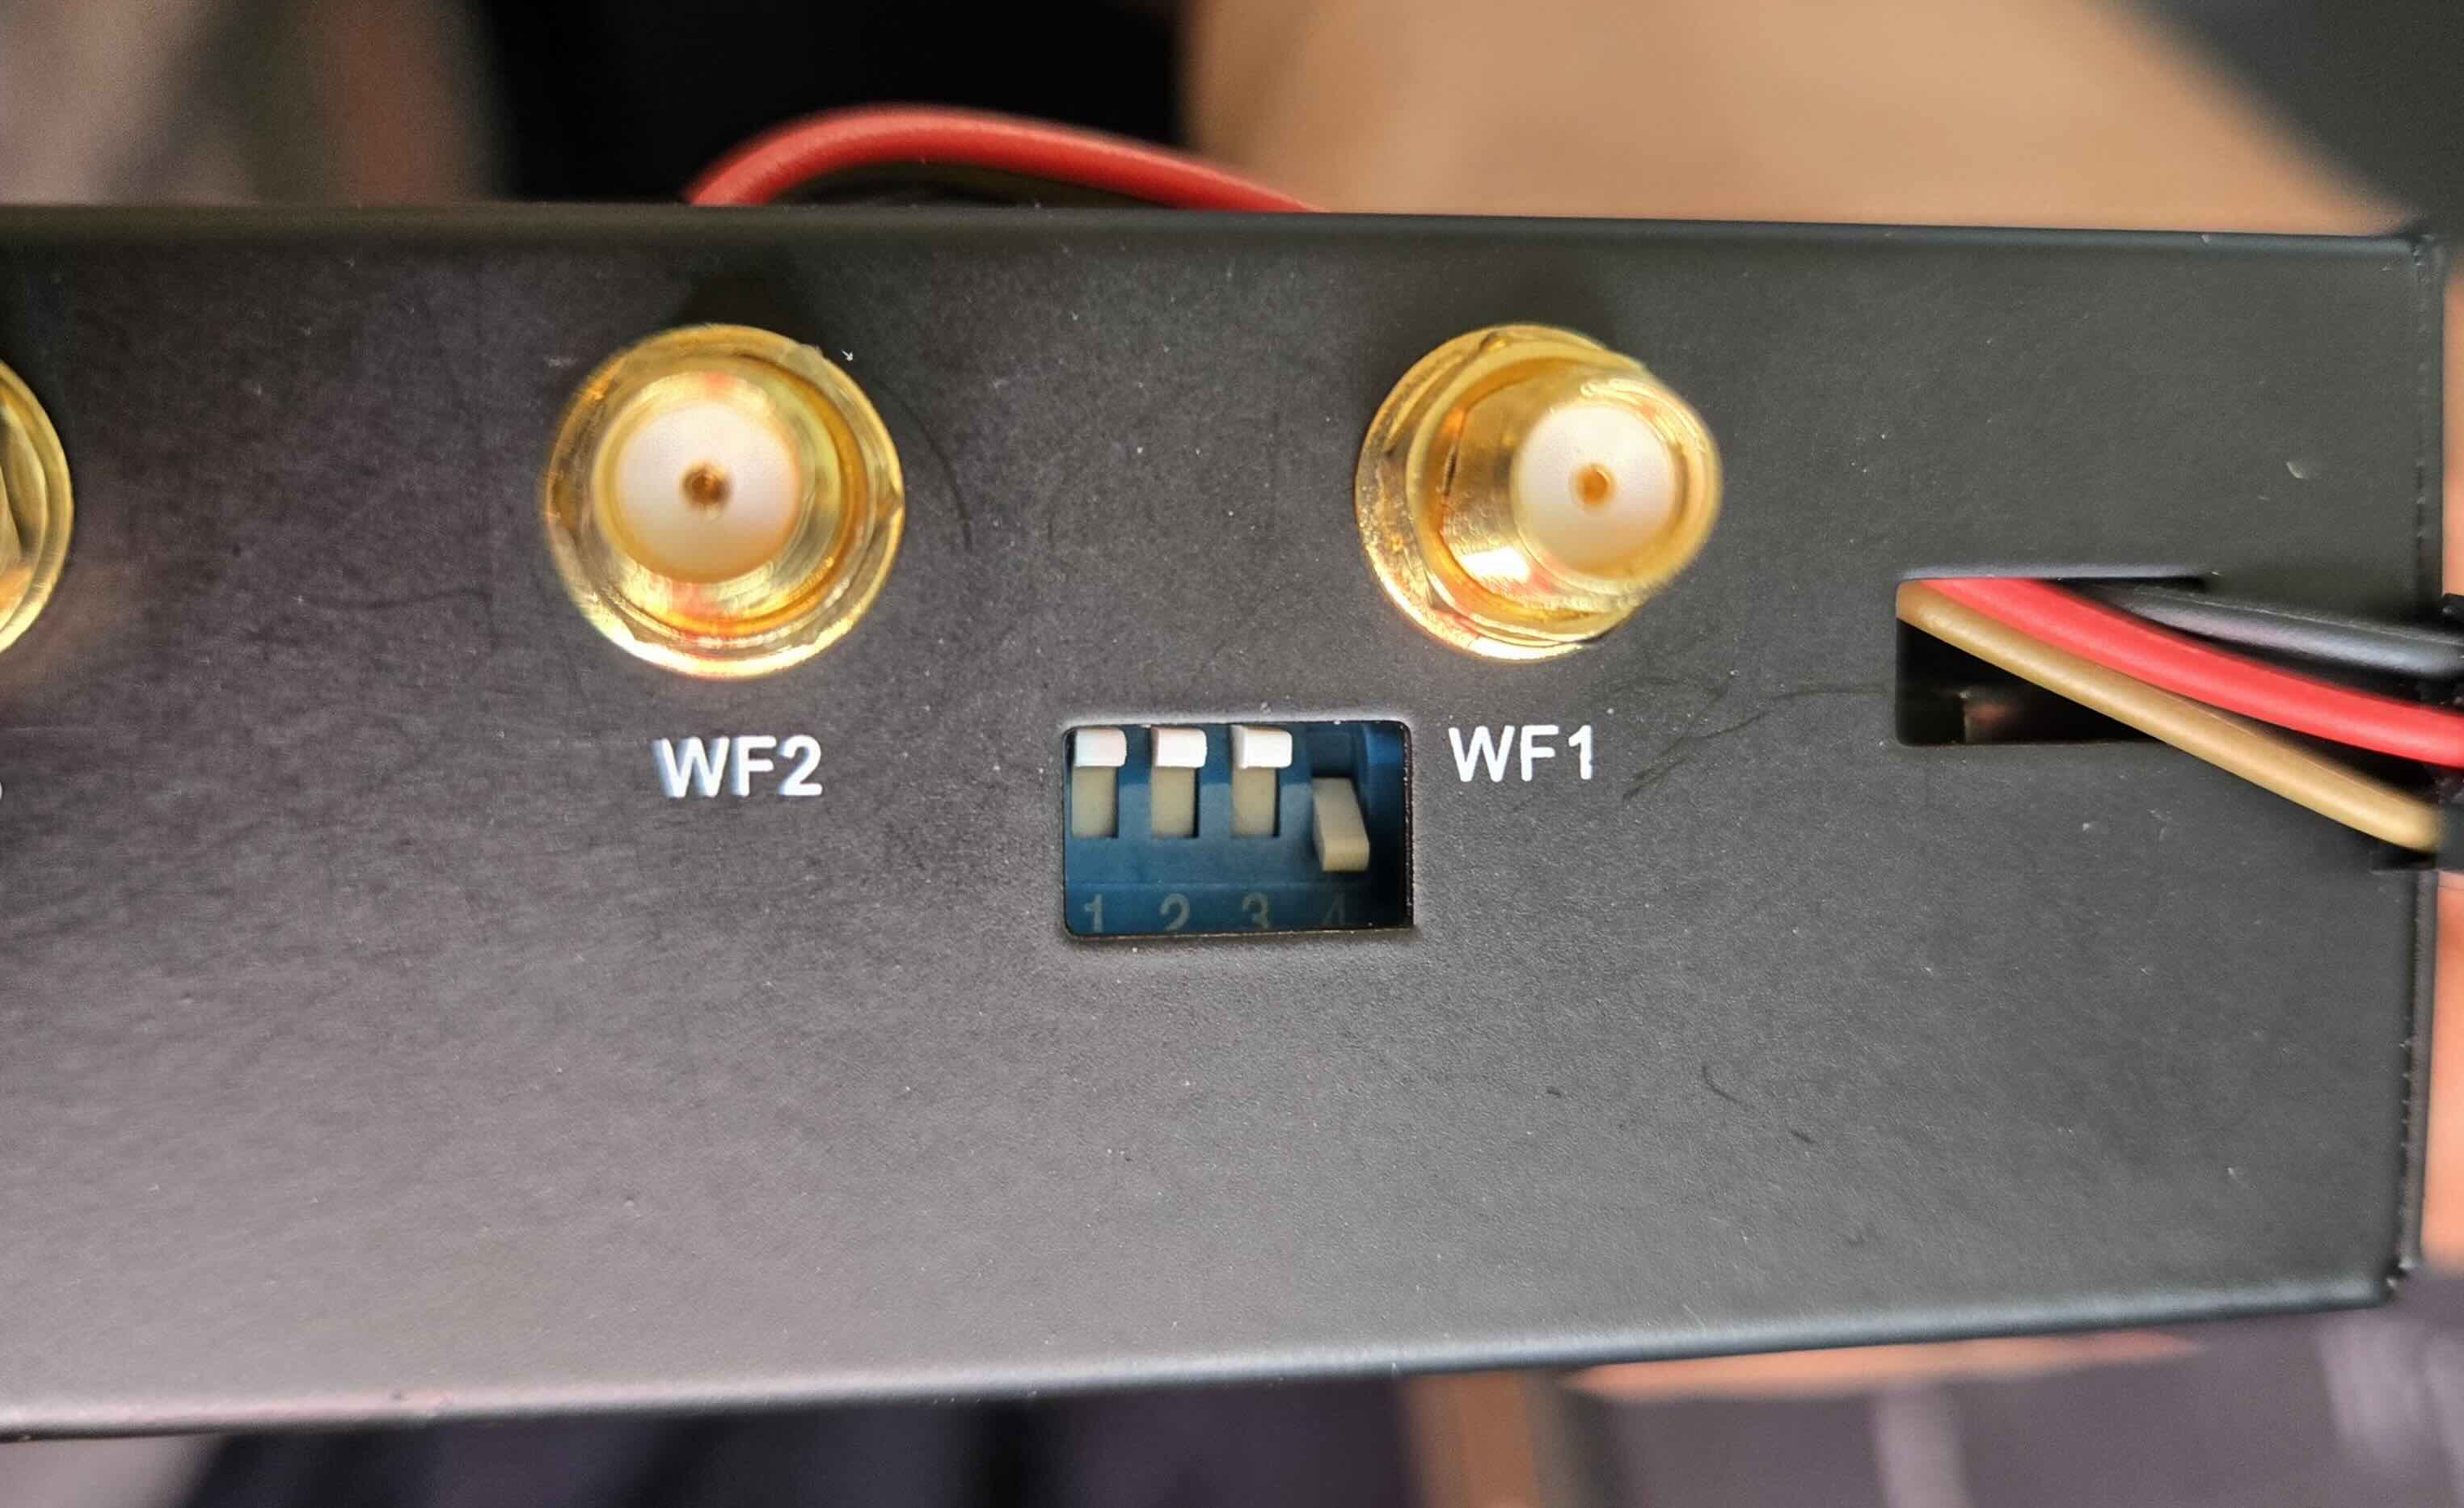
(b)Switches set to 1110
Attention
This post assumes:
familiarity with router configurations
a basic understanding of network concepts: IP, subnets, firewalls, routing, NAT techniques (masquerading)
Linux scripting
Flashing OpenWrt
Get the factory image (SD card) from here:
https://
Flashing to SD Card
Use balena-etcher or dd to write the image to the SD card. If you have access to a Serial connector to choose the boot menu option, that is good. If not, we are going to do it the hard way. This requires a PC with an ethernet connection. First:
Flip all the white switches up (A=B=C=D=1), and insert the SD card. This will boot the image from the SD card while giving access to NAND (C=1).
Flashing to EMMC
Once powered on, SSH into the router (user: root, no password) and do:
fw_setenv bootcmd "env default bootcmd ; saveenv ; run ubi_init ; bootmenu 0"
reboot
This should write the image to NAND memory (128MB capacity) on reboot.
Remove the SD card (for safety). Now switches should be A=1, B=0, C=1, D=0 to boot from NAND.
Again, SSH into the router (if you get host key issues, just do
ssh-keygen -R 192.168.1.1to reset them), and run:
fw_setenv bootcmd "env default bootcmd ; saveenv ; saveenv ; run emmc_init ; bootmenu 0"
reboot
This should set the default boot option to write the image to EMMC. At this level, the EMMC partitions reflect NAND, but EMMC has 8GB of space, so we need some resizing:
opkg update
opkg install parted block-mount lsblk
Then run:
parted /dev/mmcblk0 printIf asked to fix the GPT table, say yes.
Now we will add partition 6 that takes all available space:
parted /dev/mmcblk0 -- mkpart f2fs 768MiB -34s resizepart 5 768MiB resizepart 4 67.1M resizepart 3 12.6MWith parted ... print, it should be visible now.
Then do:
mkfs.f2fs -l data /dev/mmcblk0p6
block info
# > /dev/mmcblk0p6: UUID="94c379b9-712d-4251-9307-ccb2693e5527" LABEL="data" VERSION="1.16" TYPE="f2fs"
# > /dev/fitrw: UUID="f387e1d4-1088-4b12-bec4-a417e16eae3d" LABEL="rootfs_data" VERSION="1.16" MOUNT="/overlay" TYPE="f2fs"
Switch to ABCD=0110, reset to boot from the EMMC partition, and get some basic networking setup (Wifi, LAN...).
Now we have a backup image in the NAND. In case something goes kaput, we use the switches as 1010, and we’re back to business.
Data Partition Storage Tricks
After booting from EMMC, the following packages will enable some mounting settings in LuCI (UCI web interface):
opkg update
opkg install parted block-mount lsblk
Our goal now is to mount /dev/mmcblk0p6 as /data:
DEVICE="/dev/mmcblk0p6"
MOUNT="/data"
eval $(block info ${DEVICE} | grep -o -e 'UUID="\S*"')
echo Got UUID=$UUID for MOUNT=$MOUNT
# Add fstab entry
uci -q delete fstab.data
uci set fstab.data="mount"
uci set fstab.data.uuid="${UUID}"
uci set fstab.data.target="${MOUNT}"
uci commit fstab
# check uci fstab
uci show fstab
reboot
Now /dev/mmcblk0p6 is mounted as /data. On the GUI (go to IP of the router), go to System -> Mount Points to see all mounts.
We can also use the partition as the overlay or add SD card/USB drives following the official guide:
https://
Some Tweaks
Persistent Package List
If you have enough space on the overlay, in /etc/opkg.conf, replace list_dirs /var/opkg-lists with list_dirs /usr/lib/opkg/lists then run:
opkg update
ls /usr/lib/opkg/lists
SFP for LANs
As I mentioned, I don’t want to use SFP1 for WAN, so in Network -> Interfaces -> Devices remove br-wan... only keep wan and br-lan. Then configure br-lan to include SFP1, which is named here as eth1. Then, on Network -> Interfaces, make sure wan uses the wan device (instead of br-wan). Reboot.
Fan Always On (Max Speed)
I got the official cooler, and it’s not noisy at all at full speed. So let’s change the rc file to:
#/etc/rc.local
# Put your custom commands here that should be executed once
# the system init finished. By default this file does nothing.

# 0  -- max speed
echo 0 > /sys/devices/platform/pwm-fan/hwmon/hwmon1/pwm1
exit 0
Wireless Ethernet Dispatch
For OpenWrt 24.10:
# /etc/modules.conf append
options mt7915e wed_enable=Y
This should add a statistics tab to LuCI:
opkg install luci-app-statistics collectd-mod-thermal luci-app-temp-statusRouting
I have a NAS running at 10.0.1.2, and it has a docker subnet with various containers on 10.10.0.0/24.
The full chart of my network is as follows:
To allow my LAN devices to reach the docker subnet:
Network->Routing->Static IPv4 RoutesUnicast, Target:
10.10.0.0/24, Gateway:10.0.1.2
The NAS server should be configured to do the forwarding. Since I’m using Unraid OS, on /boot/config/go, add at the top:
iptables -I DOCKER-USER -s 10.0.1.0/24 -d 10.10.0.0/24 -j ACCEPTNote: Using VPN on a client might hijack the static routes.
Integration with ZeroTier
First, you should check zLAN: Worldwide LAN via Zerotier.
OpenWrt has a package for ZeroTier. The nice thing about this is that once the router is part of the ZeroTier network, we can set routes so that the LAN devices can reach ZeroTier clients via static routing, the same way we did with the docker subnet.
Make sure to add the routes in the ZeroTier panel. In the chart, I’m routing 10.0.1.0/24 through ZeroTier’s 10.100.0.1.
Following: https://
Install with opkg install zerotier and check the existing template uci show zerotier, it should display:
zerotier.global=zerotier
zerotier.global.enabled='0'
zerotier.earth=network
zerotier.earth.id='8056c2e21c000001'
zerotier.earth.allow_managed='1'
zerotier.earth.allow_global='0'
zerotier.earth.allow_default='0'
zerotier.earth.allow_dns='0'
Following the logic of previous examples of configuring using uci, we want to allow ZeroTier to set some routes:
uci delete zerotier.earth
uci set zerotier.GhriNet=network
uci set zerotier.GhriNet.id={SET YOUR ID from ZeroTier}
uci set zerotier.GhriNet.allow_managed='1'
uci set zerotier.GhriNet.allow_global='0'
uci set zerotier.GhriNet.allow_default='0'
uci set zerotier.GhriNet.allow_dns='0'
Once uci show zerotier looks good:
uci set zerotier.global.enabled='1'
uci commit zerotier
reboot
Confirm the device appears on the ZeroTier control panel. I’m using the old control panel; the new one does not seem to have the managed routes setting.
Bridging LAN with zLAN
Network->Interfaces->Add New InterfaceName:
zlan, Protocol:unmanaged, Device:z.*device
We now need to allow traffic between LAN and zLAN:
Network->Firewall->Zones->Add:Name:
zerotier, Input:Accept, Output:Accept, Forward:Accept, Masquerading:No, Covered:zlanAllow forward to destination:
lan, Allow forward from source:lan
Reboot and check by pinging 10.100.0.101 from a Central LAN device. Make sure the device used to test is not
connected to ZeroTier to force the router’s routes.
Adding NVME
I got an almost-new Intel Optane NVMe 16GB for ~$12 on eBay (shipping & tax incl.) during this NAND hype-cycle. I opted for Optane since it supports far more write cycles than regular NVMe, which is exactly what I intend to use it for (Docker, logs, etc.).
I installed opkg install kmod-nvme nvme-cli then checked the NVMe’s health — it’s basically new:
nvme smart-log /dev/nvme0Smart Log for NVME device:nvme0 namespace-id:ffffffff
critical_warning : 0
temperature : 44 °C (317 K)
available_spare : 100%
available_spare_threshold : 0%
percentage_used : 0%
endurance group critical warning summary: 0
Data Units Read : 12 (6.14 MB)
Data Units Written : 0 (0.00 B)
host_read_commands : 1284
host_write_commands : 0
controller_busy_time : 0
power_cycles : 15
power_on_hours : 0
unsafe_shutdowns : 1
media_errors : 0
num_err_log_entries : 0
Warning Temperature Time : 0
Critical Composite Temperature Time : 0
Thermal Management T1 Trans Count : 0
Thermal Management T2 Trans Count : 0
Thermal Management T1 Total Time : 0
Thermal Management T2 Total Time : 0Similar to the data partition, but now using fdisk and an ext4 filesystem.
opkg install kmod-fs-ext4 fdiskCreate the partition with fdisk:
fdisk /dev/nvme0n1
# n        # new partition
# p        # primary
# 1        # partition number 1
# [Enter]  # default first sector
# [Enter]  # default last sector (use full disk)
# w        # write and exit
Format and mount:
mkfs.ext4 /dev/nvme0n1p1
mkdir -p /nvme
mount /dev/nvme0n1p1 /nvme
Then run block detect and follow the same steps as the data partition.
Benchmarking with fio using 8 threads hits ~730 MB/s out of the theoretical 1000 MB/s for PCIe Gen 2 x2.
Dropping to 4 threads reduces latency but yields the same throughput , so 730 MB/s seems to be the hard ceiling on this platform.
fio --name=readtest --filename=/nvme/testfile --size=512M \
    --rw=read --bs=1M --numjobs=8 --iodepth=64 \
    --ioengine=libaio --direct=1 --group_reporting
readtest: (g=0): rw=read, bs=(R) 1024KiB-1024KiB, (W) 1024KiB-1024KiB, (T) 1024KiB-1024KiB, ioengine=libaio, iodepth=64
...
fio-3.37
Starting 8 threads
Jobs: 7 (f=0): [f(4),_(1),f(3)][100.0%][r=1131MiB/s][r=1131 IOPS][eta 00m:00s]
readtest: (groupid=0, jobs=8): err= 0: pid=4697: Fri Mar 6 22:59:03 2026
read: IOPS=698, BW=698MiB/s (732MB/s)(4096MiB/5867msec)
slat (usec): min=135, max=60356, avg=11165.20, stdev=6193.85
clat (msec): min=69, max=847, avg=680.87, stdev=135.61
lat (msec): min=75, max=856, avg=692.03, stdev=136.13
clat percentiles (msec):
| 1.00th=[ 116], 5.00th=[ 313], 10.00th=[ 592], 20.00th=[ 659],
| 30.00th=[ 684], 40.00th=[ 701], 50.00th=[ 718], 60.00th=[ 726],
| 70.00th=[ 743], 80.00th=[ 751], 90.00th=[ 776], 95.00th=[ 793],
| 99.00th=[ 827], 99.50th=[ 835], 99.90th=[ 844], 99.95th=[ 844],
| 99.99th=[ 852]
bw ( KiB/s): min=528384, max=806912, per=97.32%, avg=695705.60, stdev=9763.58, samples=80
iops : min= 516, max= 788, avg=679.40, stdev= 9.53, samples=80
lat (msec) : 100=0.56%, 250=3.30%, 500=4.08%, 750=69.19%, 1000=22.88%
cpu : usr=0.20%, sys=2.23%, ctx=12977, majf=0, minf=131080
IO depths : 1=0.2%, 2=0.4%, 4=0.8%, 8=1.6%, 16=3.1%, 32=6.2%, >=64=87.7%
submit : 0=0.0%, 4=100.0%, 8=0.0%, 16=0.0%, 32=0.0%, 64=0.0%, >=64=0.0%
complete : 0=0.0%, 4=99.8%, 8=0.0%, 16=0.0%, 32=0.0%, 64=0.2%, >=64=0.0%
issued rwts: total=4096,0,0,0 short=0,0,0,0 dropped=0,0,0,0
latency : target=0, window=0, percentile=100.00%, depth=64
Run status group 0 (all jobs):
READ: bw=698MiB/s (732MB/s), 698MiB/s-698MiB/s (727MB/s-727MB/s), io=4096MiB (4295MB), run=5867-5867msec
Disk stats (read/write):
nvme0n1: ios=31490/0, sectors=8061440/0, merge=0/0, ticks=2793740/0, in_queue=2793740, util=92.22%